How to Create a Lead Capture Form Using Infusionsoft
Looking to capture users’ email addresses so you can follow up with promotional advertisements? Using the Customer Relationship Management (CRM) software Infusionsoft, you can.
The software allows for quick and easy lead capture using a simple form. Once the form is set up, users can input their email addresses, at which point the addresses are stored in a database. For a step-by-step walkthrough on how to create a lead capture form using Infusionsoft, keep reading.
Download the Lead Capture Form
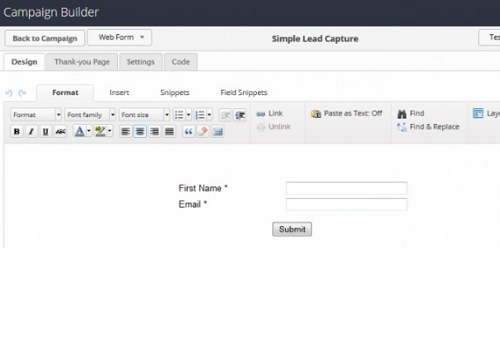
First, you’ll need to download the Simple Lead Capture Form from the Infusionsoft Marketplace. Don’t worry, it’s completely free with no strings attached. After visiting the aforementioned URL, click the “How to Install” button on the right-hand side. This will provide instructions on how to install the Simple Lead Capture Form to your Infusionsoft account. It’s a quick and easy process that should only take a few minutes of your time. And once the form is added to your account, you can begin capturing the email addresses of users.
Assign Follow-Ups
After installing the Simple Lead Capture Form, you’ll need to assign the follow-up task. In other words, specify which users will receive a promotional email after submitting their email address. To do this, log into your Infusionsoft account and choose the New Lead Notification sequence > New Lead Notification task > select a user from the “Assign to” drop-down menu > click “Draft” so it changes to “Ready” > click the “Back to Sequence” option in the upper left corner of the page > click “Draft” once again so it changes to “Ready” > and then click “Back to Campaign.”
Publish Your Campaign
Next, you’ll need to publish your new campaign by choosing the “Publish” button in the upper-right corner of the page. This should reveal a list of items selected to be publish. You can click the “Publish” button at the bottom of the list to submit the changes and make it live.
Adding the Lead Capture Form to Your Website
Last but not least, you need to add the newly created leap capture form to your website. Click the “Edit” tab in the upper-left corner of the page, followed by “Simple Lead Capture” form goal. Doing this should reveal the form with a “Code” tab at the top. Click the “Code” tab, copy the Java code, and paste it into your website in the area where you would like the form to be displayed.
Sorry if you were expecting more, but that’s all it takes to set up a lead capture form using Infusionsoft! I recommend testing the form by entering your email address into the form. If all goes well, it should capture your email while following up with your specified message.
Did this tutorial work for you? Let us know in the comments section below!
Yes, thank you – this worked very well for me.
How often would you send out promotional advertisements? I fear ending up in the “junk” category.
Simon – I typically send out advertisements no more than 2x month and make it a rule to only send out what I think my readers will find of value. I’m not saying you couldn’t do more or less often, but only send out as often as you can truly provide value to your audience. Otherwise, they will probably unsubscribe or junk your mailings.